
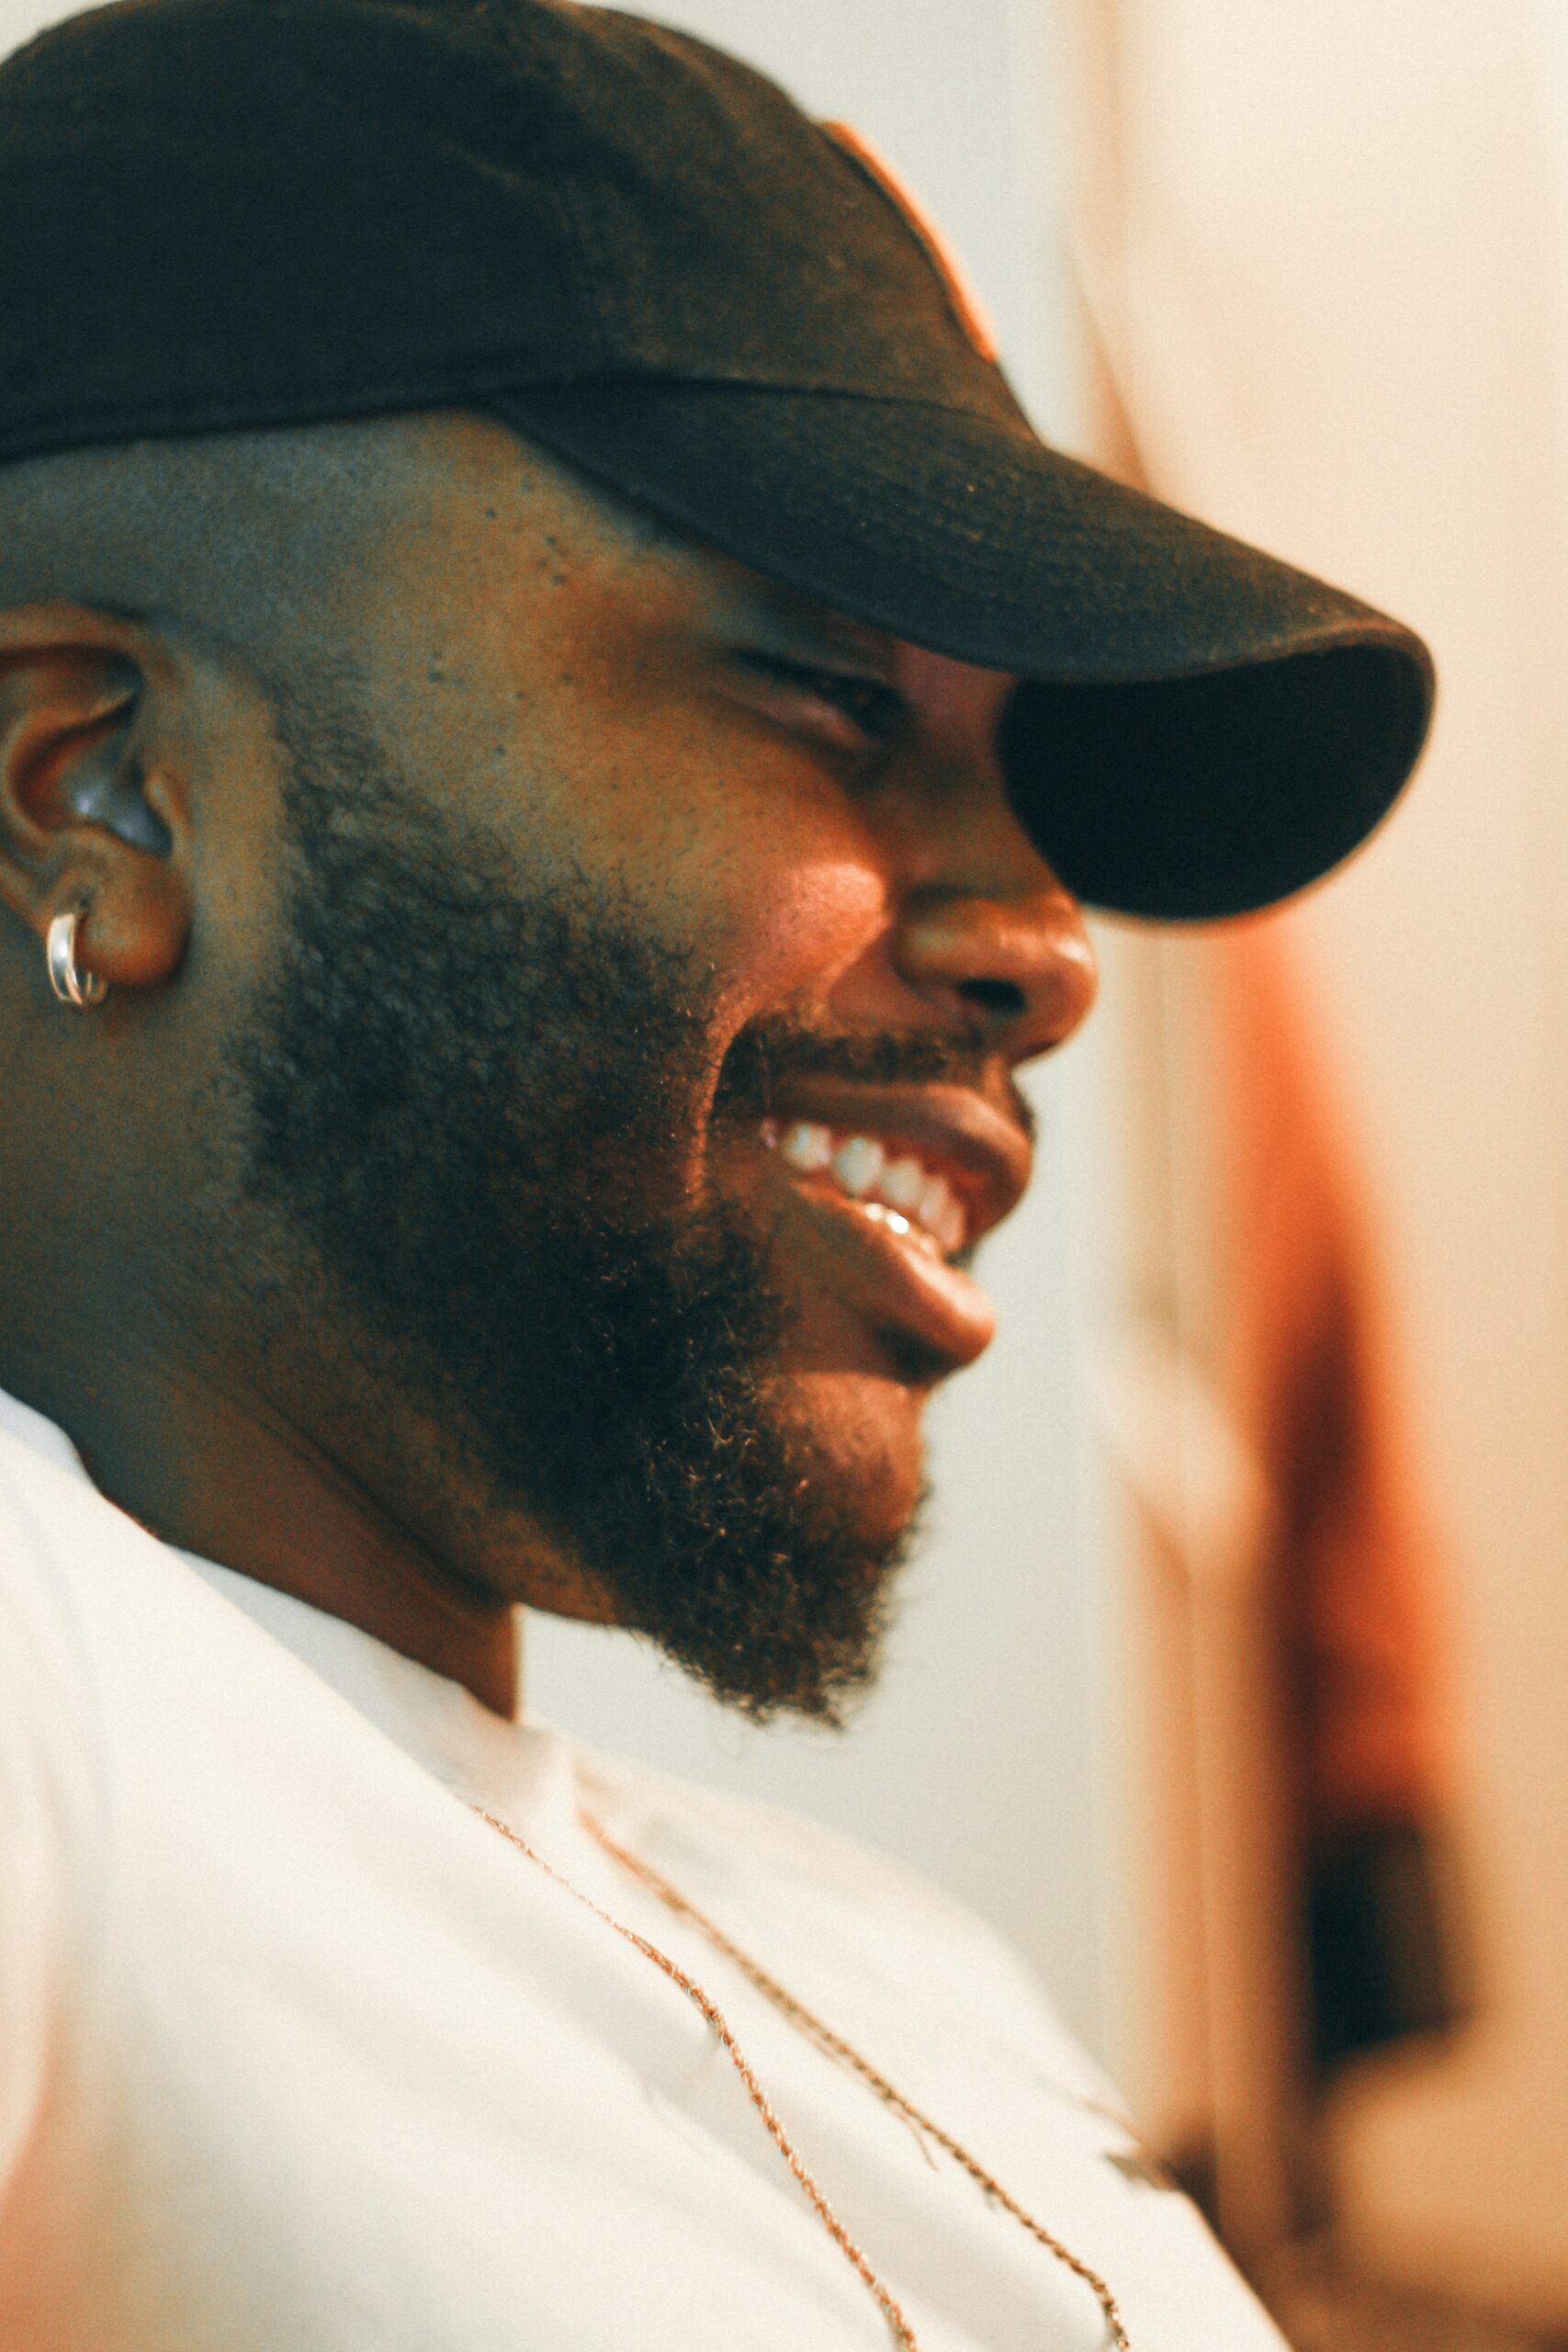
10 Simple Steps to Distress Your Hat like a Pro
Are you tired of wearing the same old boring hat every day?
It’s time to give your hat a new look with these 10 simple steps to distress it like a pro! Distressing your hat not only gives it a cool and unique look but also adds some personality to your outfit. Plus, it’s a fun and easy DIY project that you can do at home without spending a lot of money.
So, what do you need to get started?
All you need is a hat, sandpaper or a nail file, scissors, bleach, a spray bottle with water, and some paint. With these few items, you can completely transform your boring hat into a stylish accessory.
Let’s begin the process of distressing your hat together!
First, you’ll need to rough up the surface of your hat with sandpaper, creating some wear and tear. You can always use scissors to cut a few holes or fray the edges. Next, you’ll want to create a vintage effect by spraying a little bit of bleach onto your hat and letting it dry either in the sun or near a window.
Finally, it’s time to add some personality to your hat!
You can paint your hat with stencils, add patches or buttons, or even use fabric markers to draw designs onto your hat. Experiment to see what works best for you and have fun with it!
In conclusion, distressing your hat is an excellent way to add some personal flair to your wardrobe without breaking the bank.
With these 10 simple steps, you can give your hat a unique look that reflects your style and personality. Don’t be afraid to mix and match different methods until you find the perfect look for you. So, grab your hat, turn on some music, and get started on this fun DIY project today!
“How To Distress A Hat” ~ bbaz
Introduction
Hats have been a fashion statement for centuries, and we all love a good hat. Distressed hats have become popular over time, as they add a vintage and rugged touch to your style. You may wonder how to distress your hat without ruining it. Here are ten simple steps that will help you to distress your hat like a pro.
10 Simple Steps to Distress Your Hat
Step 1: Choose Your Hat
Not every hat can be distressed in the way you desire. For instance, a cowboy hat has a completely different style than a fedora or baseball cap. Therefore, choose the hat you want to distress based on its material, shape, and size.
Step 2: Tools You Need
Before you start to distress your hat, prepare a few tools. The most important tool is sandpaper or a nail file. Other essential tools include scissors, tweezers, a spray bottle, and bleach.
Step 3: Wipe Your Hat
Begin by using a sponge or cloth to wet the hat. This will allow the hat to wash easily when you are later bleaching it or exposing it to sunlight.
Step 4: Use Sandpaper
Now, take one of the sandpapers or the rough side of a nail filer and use it against the surface of the hat to create marks of uneven and roughness onto the hat. This helps to give your hat an aged look.
Step 5: Make Holes
Use your scissors or a razor blade to make cuts in the hat, creating holes that give it a more rugged look. The number and size of the holes depend on how distressed you want the hat to look.
Step 6: Spray with Bleach
Spray the hat lightly with bleach to create more color variation in the hat, but don’t overspray it as it may permanently damage your hat.
Step 7: Expose it in Sunlight
If you choose this option, put the hat on a table outside during the hottest hours of daylight. This will fade your hat’s dark color and give it a sun-bleached, worn-out look.
Step 8: Use Tweezers
Use tweezers to pull out single strands of hat fiber, which will give the hat more texture and depth when you have successfully distressed it.
Step 9: Scrunching Your Hat
Hold your hat and scrunch it, applying pressure to crease your hat irregularly. This adds dimension over the flat surfaces of your hat.
Step 10: Wear Your Hat with Confidence
Your hat is now ready. From this point on, wear your hat frequently and with confidence so that it can hold its shape and maintain its new distressed look.
Comparison Table
| Method | Advantages | Disadvantages |
|---|---|---|
| Bleaching | Easy, fast way to add color variation to your hat | Can permanently damage the hat if improperly applied |
| Exposing it to Sunlight | Natural way to enhance a hat’s color | Takes a long time to have any effect on your hat. |
| Sanding and Scrunching | Adds texture and dimension to the hat surface quickly | Incorrect scrunching could result in creases that are difficult to smooth out later. |
Opinion
Distressing your hat is not just about following a list of steps, it involves a lot of creativity as well. Choose the right tools that work best for you and your hat. Each method has its own advantages and disadvantages, so choose the ones that work best for you based on your personal preference. Be patient through the process, give each method enough time to work, and don’t be afraid to experiment! Your distressed hat will hold a unique character that no other hat can match.
10 Simple Steps to Distress Your Hat like a Pro
Thank you for stopping by and reading this article on how to distress your hat like a pro. We hope that you’ve learned a lot and can now confidently distress your hats on your own. The steps outlined in this article are simple and easy to follow, so don’t be afraid to experiment and create your own unique look.
Remember, the key to achieving a great-looking distressed hat is to be patient and take your time. Don’t rush through any of the steps, and make sure that you’re paying attention to the details. With a little bit of effort, you can turn an ordinary hat into a one-of-a-kind masterpiece.
If you have any further questions or comments, feel free to leave them below. We always love hearing from our readers and value your input. And if you do decide to try out any of these steps, please share your results with us – we’d love to see the awesome hats that you create!
People also ask about 10 Simple Steps to Distress Your Hat like a Pro:
- What materials do I need to distress my hat?
- How do I choose the right hat to distress?
- Can I distress a hat that has a logo or design on it?
- How do I bleach my hat?
- How do I distress the brim of my hat?
- How do I distress the crown of my hat?
- How long should I leave my hat in the sun to fade?
- How do I dye my hat?
- How do I finish off my distressed hat?
- Can I distress a hat that has already been distressed?
You will need a hat, sandpaper, bleach, scissors, a spray bottle, a toothbrush, and fabric dye.
You can use any hat you want, but it is recommended to use a hat made of natural fibers like cotton or wool.
Yes, you can. However, keep in mind that the logo or design may not distress evenly with the rest of the hat.
Mix equal parts of bleach and water in a spray bottle. Spray the mixture onto your hat and let it sit for a few minutes before rinsing it off with cold water.
Use sandpaper to rough up the edges of the brim. You can also cut the brim to make it look more worn.
Use sandpaper to create small tears and holes in the crown. You can also use a toothbrush to create a more subtle distressed look.
It depends on how faded you want your hat to be. Leave it in the sun for a few hours to achieve a subtle fade, or leave it out for a few days for a more drastic result.
Follow the instructions on your fabric dye package. Make sure to use a dye that is safe for the type of fiber your hat is made of.
You can add patches, pins, or paint to your hat to give it a unique look. You can also leave it as is for a more natural look.
Yes, you can. Adding more distressing will only add to the character and uniqueness of your hat.